Required PHP settings
This topic discusses how to set required PHP options.
Supported PHP versions:
-
~7.1.3
-
~7.2.0
-
~7.3.0
Verify PHP is installed
Most flavors of Linux have PHP installed by default. This topic assumes that you have already installed PHP. To verify if PHP is installed already, in the command line, type:
1
php -v
If PHP is installed, a message similar to the following displays:
1
2
3
PHP 7.3.0 (cli) (built: Aug 14 2019 16:42:46) ( NTS )
Copyright (c) 1997-2018 The PHP Group
Zend Engine v3.1.0, Copyright (c) 1998-2018 Zend Technologies with Zend OPcache v7.1.6, Copyright (c) 1999-2018, by Zend Technologies
If PHP is not installed, or a version upgrade is needed, install it following instructions for your particular Linux flavor. On CentOS, additional steps may be required.
Verify installed extensions
Magento requires a set of extensions to be installed:
-
ext-bcmath
-
ext-ctype
-
ext-curl
-
ext-dom
-
ext-gd
-
ext-hash
-
ext-iconv
-
ext-intl
-
ext-mbstring
-
ext-openssl
-
ext-pdo_mysql
-
ext-simplexml
-
ext-soap
-
ext-xsl
-
ext-zip
-
lib-libxml
In the command line, type:
1
php -m
to see the list of installed modules. Verify that the listed extensions are installed.
If any modules are missing, they are added using the same workflow used for installing PHP. For example, if you use yum to install PHP, the PHP 7.3 modules can be added with:
1
2
3
4
5
6
7
8
9
10
11
12
13
14
 yum -y install php73u
 -pdo php73u
 -mysqlnd php73u
 -opcache php73u
 -xml php73u
 -gd php73u
 -devel php73u
 -mysql php73u
 -intl php73u
 -mbstring php73u
 -bcmath php73u
 -json php73u
 -iconv php73u
 -soap
Check PHP settings
- Set the system time zone for PHP; otherwise, errors like the following display during the installation and time-related operations like cron might not work:
1
PHP Warning:  date(): It is not safe to rely on the system's timezone settings. [more messages follow]
-
Set the PHP memory limit.
Our detailed recommendations are:
- Compiling code or deploying static assets,
756M- Installing and updating Magento components from Magento Marketplace,
2G - Testing,
~3-4G
- Installing and updating Magento components from Magento Marketplace,
- Compiling code or deploying static assets,
-
Enable
opcache.save_comments, which is required for Magento 2.1 and later.We recommend you enable the PHP OPcache for performance reasons. The OPcache is enabled in many PHP distributions.
Magento 2.1 and later use PHP code comments for code generation.
To avoid issues during installation and upgrade, we strongly recommend you apply the same PHP settings to both the PHP command-line configuration and the PHP web server plug-in’s configuration. For more information, see the next section.
Step 1: Find PHP configuration files
This section discusses how you find the configuration files necessary to update required settings.
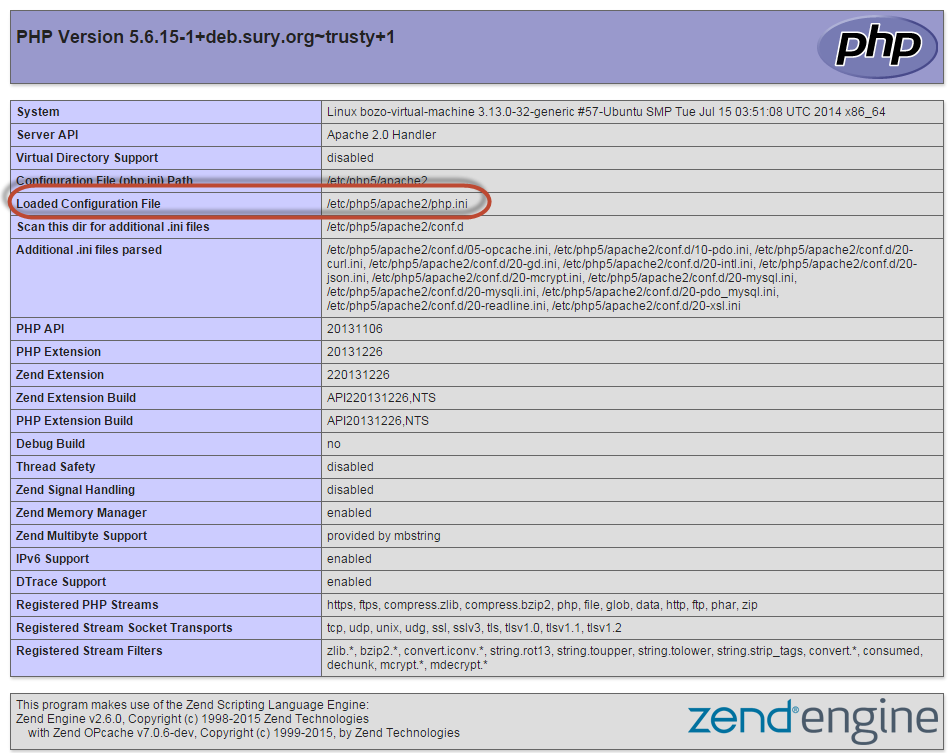
Find php.ini configuration file
To find the web server configuration, run a phpinfo.php file in your web browser and look for the Loaded Configuration File as follows:
To locate the PHP command-line configuration, enter
1
php --ini | grep "Loaded Configuration File"
If you have only one php.ini file, make the changes in that file. If you have two php.ini files, make the changes in all files. Failure to do so might cause unpredictable performance.
Find OPcache configuration settings
PHP OPcache settings are typically located either in php.ini or opcache.ini. The location might depend on your operating system and PHP version. The OPcache configuration file might have an opcache section or settings like opcache.enable.
Use the following guidelines to find it:
-
Apache web server:
For Ubuntu with Apache, OPcache settings are typically located in
php.ini.For CentOS with Apache or nginx, OPcache settings are typically located in
/etc/php.d/opcache.iniIf not, use the following command to locate it:
1
sudo find / -name 'opcache.ini'
-
nginx web server with PHP-FPM:
/etc/php/7.2/fpm/php.ini
If you have more than one opcache.ini, modify all of them.
Step 2: How to set PHP options
To set PHP options:
- Open a
php.iniin a text editor. - Locate your server’s time zone in the available time zone settings
-
Locate the following setting and uncomment it if necessary:
1
date.timezone =
- Add the time zone setting you found in step 2.
-
Change the value of
memory_limitto one of the values at the beginning of this section.For example,
1
memory_limit=2G
- Save your changes and exit the text editor.
- Open the other
php.ini(if they are different) and make the same changes in it.
Step 3: Set OPcache options
To set opcache.ini options:
-
Open your OPcache configuration file in a text editor:
opcache.ini(CentOS)php.ini(Ubuntu)/etc/php/7.2/fpm/php.ini(nginx web server (CentOS or Ubuntu))
- Locate
opcache.save_commentsand uncomment it if necessary. - Make sure its value is set to
1. - Save your changes and exit the text editor.
-
Restart your web server:
- Apache, Ubuntu:
service apache2 restart - Apache, CentOS:
service httpd restart - nginx, Ubuntu and CentOS:
service nginx restart
- Apache, Ubuntu: